After the pandemic canceled our Winter Break travel plans for the second year in a row, this meant that my fiancée and I would have a lot more time on our hands than expected. For her, among other things, this meant more time to read and catch up on The Great British Baking Show. (Okay, I’ve been watching it with her, too. It’s really quite charming.)
For me, this seemed like a great excuse to find another use for the Raspberry Pi and box of assorted electronic components gathering dust in a closet. I did not have any especially pressing problems to solve, but there was a lingering question the two of us had pondered: how dry, actually, is the air in our apartment?
The Background
Perhaps it’s genetics, or perhaps it’s the ever-present existential dread of the past few years, but whatever the precise reason may be, I’m getting old, and it’s starting to show physically. For a while already, I’ve had a few gray hairs on the sides of my head, but now my beard has begun to turn gray—and quite rapidly at that!
I can deal with some gray hairs, but one of the more aggravating signs of age is how my hands—specifically my knuckles—have begun to get extremely dry whenever the weather turns cold. It gets so bad at times that the skin starts to crack, sting, and bleed.
For this and other reasons, my fiancée and I purchased a small humidifier last year. It was well reviewed and reasonably priced, but one thing I never particularly liked about it was that it lacked a display that could tell you what the room’s actual humidity level was.
The Problem
Technically, there’s no need for a display on this humidifier since the device isn’t designed to respond to the environment in any way; it’s intended to just be turned on and off manually by the user. But this has the unfortunate effect of making it more or less impossible to know whether the machine actually does anything (besides make a slight whirring sound all day long).
While the humidifier seems to work, by which I mean its fan runs when you tell it to and the water level in its reservoir steadily decreases, I can’t say that I’ve really detected any change in the apartment’s air quality. And my knuckles are as angry as ever—at least when I forget to apply moisturizer.
So, does this thing actually work?
There’s one very easy way to answer this question: measure the relative humidity in the apartment (i.e. do that thing the humidifier doesn’t). Presumably, if we could measure it in an area near the humidifier and an area far from the humidifier, we could get a rough sense of whether the device has a noticeable impact on its surrounding environment.
It’s easy enough to find a device that can take these measurements. The Eve Room, for example, claims to measure humidity, temperature, and “volatile organic compound concentration” (whatever that is) and can even report it to the Home app on your iPhone.
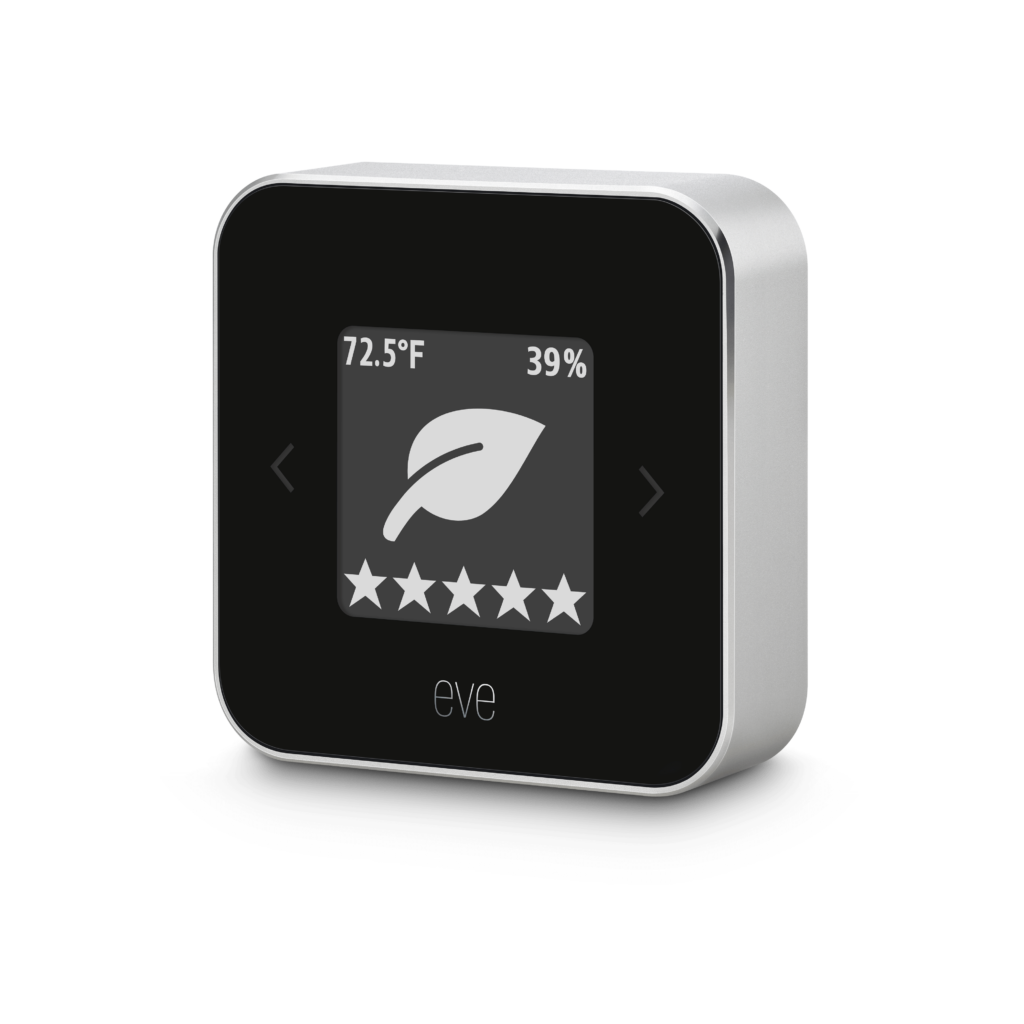
But it costs $100, and that’s way too expensive for this experiment.
While there are much cheaper bluetooth-enabled thermometer/hygrometer devices out there (including this $10 device), wouldn’t it be much more fun to build one myself?
The Objectives
This project would really only need to do two things: measure the relative humidity of a room and report it back to the user.
As is often the case, a secondary goal would be to do this as cheaply as possible. If I can buy a device for about $10 on Amazon, I certainly don’t want to spend much more than that to make it myself.
And finally, a “nice-to-have” objective would be HomeKit compatibility, which would let my creation talk to the Home app on my iPhone, just like the overpriced “real” product that I mentioned earlier.
The Solution
Step 1: Taking Stock
I already owned a Raspberry Pi, a tiny Linux-based computer to use as the “brains” of the operation.

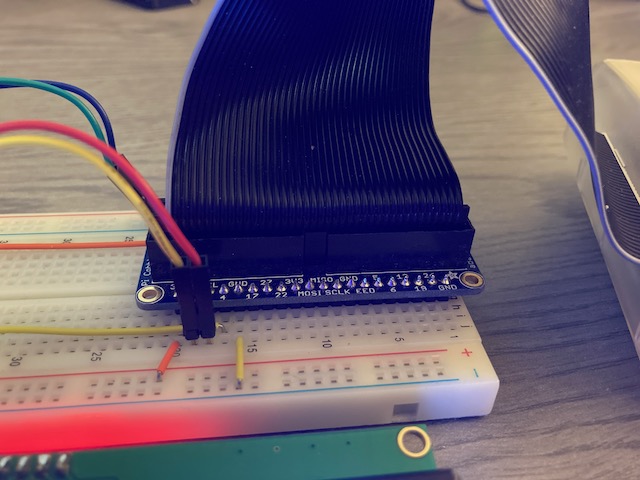
And in that aforementioned box of electronics, I also had a breadboard to build circuits on, a bunch of wires, and a Pi Cobbler (a convenient component for linking the Pi to the breadboard).
To recreate the digital screen frequently found on electronic thermometer/hygrometer devices, I could use an LCD component that I had purchased a number of years ago when I first tried experimenting with the Raspberry Pi. That LCD can handle four lines of text, with 20 characters per line. That would be more than enough space to display the desired data.
As for HomeKit compatibility, I previously experimented with a piece of software called HomeBridge, which is a sort of open-source server that hobbyists can install on a computer (such as the Raspberry Pi) to get non-HomeKit devices to to talk to actual HomeKit devices. For that earlier project, I was able to use HomeBridge to take an ordinary webcam (the kind you might use for a Zoom call), connect it to a Raspberry Pi, and turn it into a rudimentary HomeKit-enabled security camera.
(At our vet’s suggestion, we tried to use this contraption to see whether our dog was exhibiting signs of anxiety when we left the apartment. Unfortunately, no matter what room we put the camera in, Tucker would always choose to hang out somewhere else. It’s like he knew!)
Step 2: The Most Important Piece
The one component I didn’t have was something that could actually measure the relative humidity of a room.
Luckily, there are plenty of options in that department. My local computer store had a breadboard-compatible component in stock based on the DHT11, which is a sensor capable of detecting both humidity and temperature.
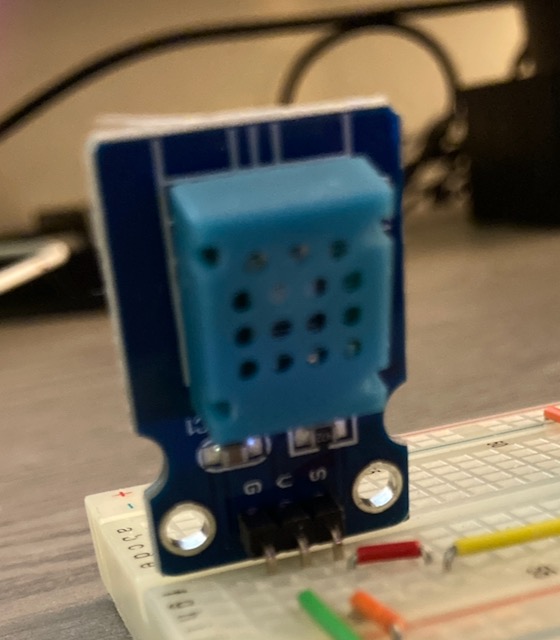
The DHT11 is apparently not one of the most accurate sensors on the market, but it’s what I could get without having to order something online during Christmas season, and it’s easy enough to use with a Raspberry Pi. You basically have to attach three wires to it: one connected to a 3V-5V power source, one connected to ground to complete the circuit, and another to send data to whatever is controlling it (in this case, the Pi).
Most importantly, it only cost me $5.99. Since this was the only new item I actually needed to buy, this project would be well within budget!
Step 3: Wiring It Up
I followed the instructions here to wire the LCD to the Pi. I skipped the part about using a 5V-to-3.3V logic converter. This may or may not mean I’m going to fry my Pi’s delicate electronics. I’ve taken my chances in the past without obvious signs of harm, but I know that it’s technically a risk.
To wire up the sensor module, I followed these instructions from Adafruit. That page, and others that I found, tells you to attach a resistor between the power and data pins. This is what’s called a “pull-up” resistor, and it’s used to ensure that the data pin has a clear “on” and “off” state. (Since this is a digital sensor module, it can only communicate in 1’s and 0’s.) I didn’t add the resistor, however, because I think there’s already one built into the PCB (i.e. the circuit board) that the sensor was attached to. The Pi also has a built-in pull-up resistor that I was hoping I could use. Either way, the project worked fine without it in the end.
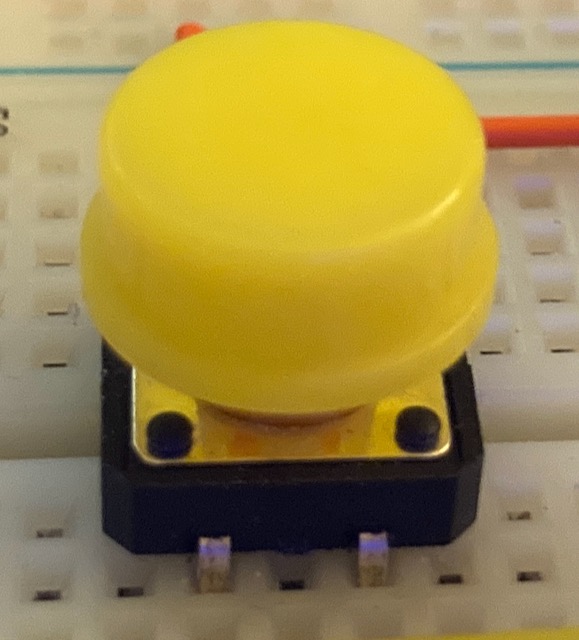
Since there were still plenty of free data pins on the Pi, I also added a push button, the purpose of which I’ll explain later.
Step 4: Gathering a Bunch of Libraries
In the previous step, I mentioned Adafruit. They’re a cool company that sell components for electronics projects like this, provide ready-made code and libraries for interacting with the hardware that they sell, and create step-by-step tutorials on how to use it all.
One of the simplest ways to interact with electronic components on the Raspberry Pi is by using the Python programming language, and Adafruit has plenty of documentation on how to do so. These days, their tool of choice appears to be something called CircuitPython, which as I understand it, is a variant of Python (along with associated libraries) that can be used on a range of microcontrollers (i.e. small computing devices used for electronics and robotics projects). This is significant because Adafruit’s tutorials did not use this particular system when I first played around with Pi-based projects several years ago.
Anyway, as Adafruit explains, CircuitPython is really helpful because it allows you to use the same code on a whole range of devices, including more full-blown, Linux-based computers like the Raspberry Pi (as long as you have the appropriate Python libraries installed). So, I followed Adafruit’s instructions to get it up and running.
Then, I needed a library that would let CircuitPython talk to the DHT11 sensor. Thankfully, Adafruit has instructions for that, too.
Finally, I would need one more library to get CircuitPython to talk to the LCD. Adafruit, of course, has a set of instructions for that. Unfortunately, while I was able to consult their guide to figure out the code to use to talk to the LCD, Adafruit’s library didn’t actually work for me. It turns out that although it was, in fact, written for the exact kind of LCD I was using, the library assumes that there is a particular type of interface board (which Adafruit calls a “backpack”) attached to that LCD. Sadly, my particular LCD’s “backpack” was built around a completely different controller chip.
Thankfully, after doing some Googling, I discovered that a tinkerer by the name of Tim Jackins had encountered this same problem. He essentially hacked Adafruit’s library so that you could use it with a PCF8754-based backpack. So I installed his version of the Adafruit library in place of the old one and also added in his PCF8754 driver.
Step 5: Putting It All Together
With the help of all the instructions linked above (translation: by engaging in lots of copy-and-pasting and adding just a teensy bit of my own code), I was able to create a Python program that continuously grabs the the DHT11’s temperature/humidity readings and subsequently outputs them to the LCD.
I then used these instructions to tell the Pi to run the program every time it started up.
One additional piece of functionality that I added to the program was a way to turn the device off. Since the Raspberry Pi is technically a very small personal computer, you’re not really supposed to just unplug it when you’re done. Ideally, it should be shut down the same way you might shut down a Mac or PC. Since I wanted to be able to read the humidity in one room and then unplug the device and try again in another room, I needed a way to turn the thing off without needing a mouse, keyboard, or remote connection to the Pi.
That’s where the push button came in. I added a small routine to the Python script that monitored the button. If the button were held down for a few seconds, the script would then send a shutdown command to the operating system. (I used Adafruit’s CircuitPython debouncer library and this tutorial to help with this step.)
Step 6: What About HomeKit?
Ah yes, I almost forgot! After ensuring that the code described above could actually measure the temperature/humidity and display it on a screen, I set about finding a way to get the Pi to also communicate this information to the Home app on my iPhone via HomeKit.
As I mentioned earlier, the key to getting that to work is an app called HomeBridge, whose website has a great tutorial about installing it on the Pi. The last piece of the puzzle was to find a way to get HomeBridge to talk to the DHT11.
As luck would have it, a developer in Canada who seems to be very interested in home automation devices, had already figured this out. That developer wrote a plugin for HomeBridge that uses an external library written in C to interface with the Pi’s data pins and receive readings from the sensor. I followed the developer’s instructions to get it up and running. While I was slightly disappointed that I didn’t have to write any of my own code for this part, I was also honestly kind of relieved.
The Outcome
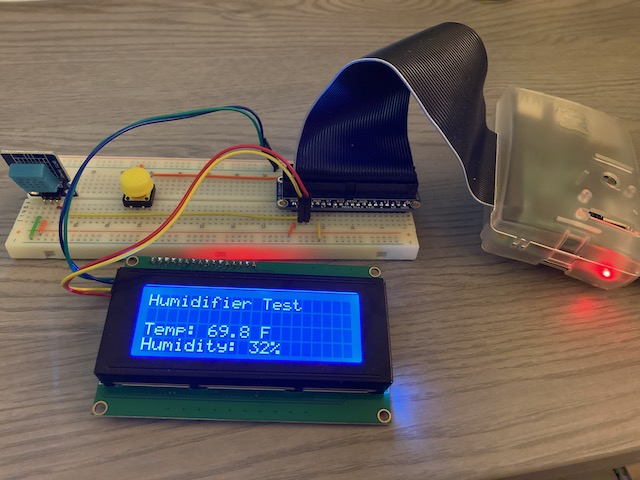
When all was said and done, this project met all of its objectives: it read the humidity (and temperature!) of a room, reported this information in two different ways (via an LCD display as well as the Home app on my iPhone), and only cost $5.99 (thanks to my already owning most of the necessary components).
When it came to addressing the original problem, things were a little more complicated. I learned from my creation that the temperature in our apartment is generally somewhere between 68 and 70 degrees Fahrenheit, which is consistent with the readings reported on our thermostat.
As for humidity, when I first tried the thing out in a small room we use as an office, which is about as far away from the humidifier as you can get, it detected a relative humidity of about 28%. Closer to the humidifier, the reading hovered around 30%.
(Today, as I write this post, sitting at a computer about halfway between those two locations, it’s held pretty steady at 32%. The number actually rose several percentage points while my fiancée was cooking chili for dinner and then fell back to 32% thereafter.)
So I guess, technically, the air is ever-so-slightly more humid closer to the humidifier, but I’m not so sure that two percentage points is really that significant.
On the positive side, all the readings I’ve taken (except for the ones in the office) have been within the recommended 30% to 50% range that I’ve seen cited around the internet. Still, we’re only just inside that range, so maybe that can explain my still-quite-unhappy knuckles?
Where we go from here in our quest for better air is unclear, but at least wherever we do go, I can take my Really Useful and Totally Portable Temperature/Humidity Contraption there with me!
Or, you know, we can just cook a lot of chili…