The Background
As teachers across the country transitioned to virtual instruction, many found themselves looking for ways to do digitally what they once did on paper. An obvious candidate for this treatment would be the assignment rubrics that are usually photocopied hundreds of times and then filled out to provide feedback to students.
I actually ditched paper-based rubrics a year or two ago. I’ll explain my solution in a moment. As for my reasons, I grew tired of the space they took up, not to mention the intimidating piles all over my desk. As weird as it sounds, I also grew frustrated by the permanency of pen on paper. You see, I’m a terribly indecisive rubric filler-outer. I circle things, then cross them out, then feel guilty that the student is being subjected to my indecision, then (if I feel guilty enough) have to start over.
Ironically, the other major benefit of digital rubrics is that they are, in fact, more permanent. Students can easily lose a paper rubric before they have a chance to actually sit down and think about the feedback. It’s a lot harder to lose a PDF that I sent by email—and can be resent if “accidentally” deleted.
The Problem
A sticking point that came up on one of my curriculum teams this year was how to provide feedback to students on their essays during our nine weeks of coronavirus-related distance learning.
Our county had forbid us from providing students with traditional grades for equity reasons, but we still wanted to give reasonable feedback to students. So we created a 24-point checklist.

Now we had to figure out how to actually check these boxes and return the lists to students.
There are a number of pre-existing tools that have rubric features built in. Turn It In, the plagiarism checker, has allowed teachers to build digital rubrics and attach them to assignments for as long as I’ve used it. Doctopus, an add-on for Google Sheets, is another well-known tool in teacher circles for collecting and grading work. At some point in the past year or so, even Google added a rubric function to its popular Classroom product.

I’ve actually used all of these tools at some point or another. I even used Classroom’s rubrics in some of my courses this year. These tools do their job well, but there are some aspects of old-school rubrics that I still find appealing.
The Objective
When I switched to all-digital rubrics a couple years ago, I wanted to reproduce the feel of writing on paper without actually using any paper.
I like the freedom that comes with being able to design a paper-based rubric to look however I want. I like being able to arrange categories and assign points however I choose. I like being able to use custom formatting to emphasize words and phrases. And I like being able to write margin notes, underline criteria, and provide other, more qualitative feedback to students.

It’s just not as easy to do those things with most digital rubric tools I’ve played with. The big advantage is their ability to do the math for you, but this is a trade-off I’d be willing to make if I could truly reproduce the look and feel of filling out a traditional rubric.
An iPad combined with an Apple Pencil seemed like an obvious starting point. I also figured that it would be easy enough to create a rubric on my computer and turn it into a PDF. Then, I could use one of the countless apps for note-taking or annotations that can be found on the App Store for actually filling out the rubrics.
But how to organize this? How could I quickly make copies of the PDFs for each student and easily return them?
The Solution
The solution is a combination of a spreadsheet and three apps: Mail, GoodNotes, and Shortcuts.
The Spreadsheet
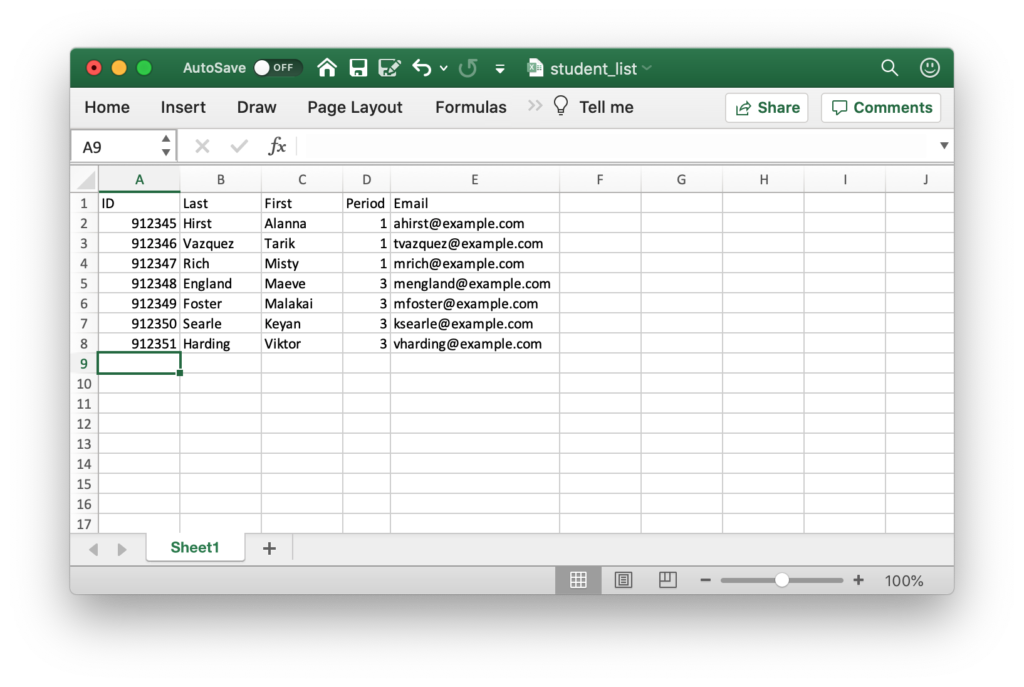
Spreadsheets certainly aren’t sexy, but any solution for efficiently dealing with upwards of 100 students needs a way to keep track of some data. Thus, the starting point fo this project is a spreadsheet containing all of my students’ names, ID numbers, period numbers, and email addresses.
(I am able to export these fields from my school’s electronic Student Information System, but one can easily build such a list from scratch if need be. It’s a little time-consuming, but it will be used over and over again, so it’s worth it.)
The spreadsheet can be built using any app, but it must be saved in Excel (XLSX) format and the columns need to be named as follows: ID, Last, First, Period, Email. The ID number must be the first column; the order for the rest doesn’t matter.
The E-Mail Client
This is just Apple’s default, built-in email client. To get this project to work, I had to add my work email as an account in the iPad’s Settings app the same way one would add a personal account. I normally use Outlook for work email, but because Mail is part of the operating system, it’s easier to automate (as you’ll see later).
The Note-Taking App
There are a ton of note-taking apps out there. At $7.99, GoodNotes 5 is a bit on the pricier side, but I’ve been using it for years. It’s reliable and intuitive. I like it because it works really well with the Apple Pencil, is great for annotation, and is really, well, good at importing and exporting documents. (I didn’t need them for this project, but GoodNotes also has some neat features that help with hand-writing on the iPad.)
The Automation App

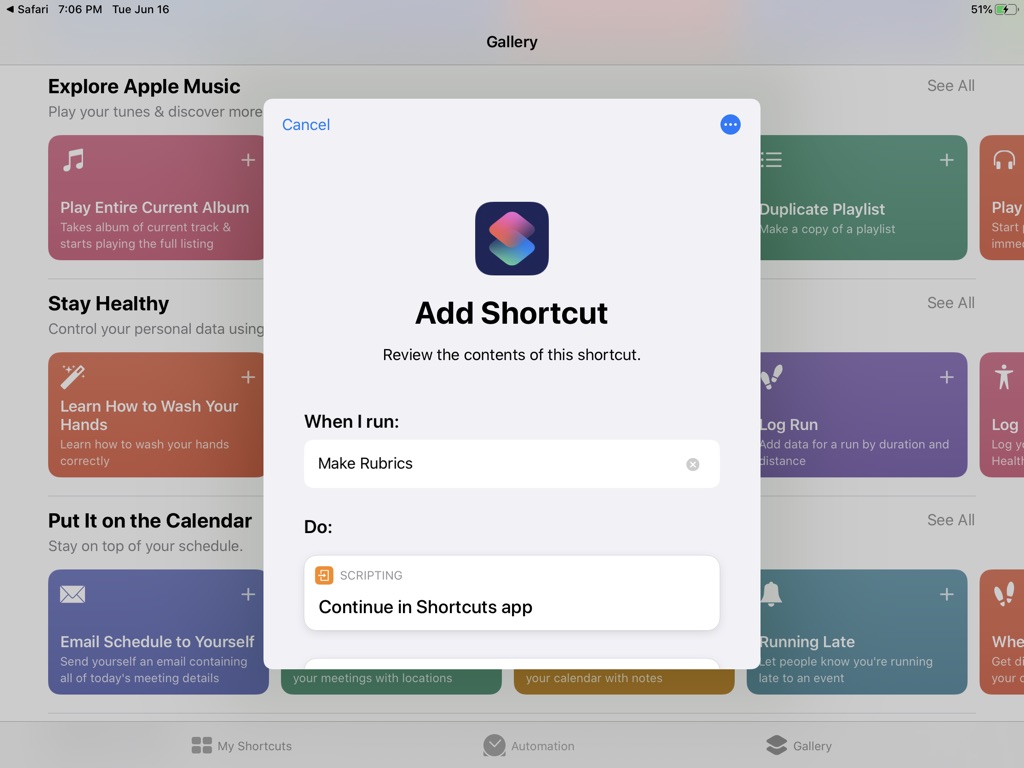
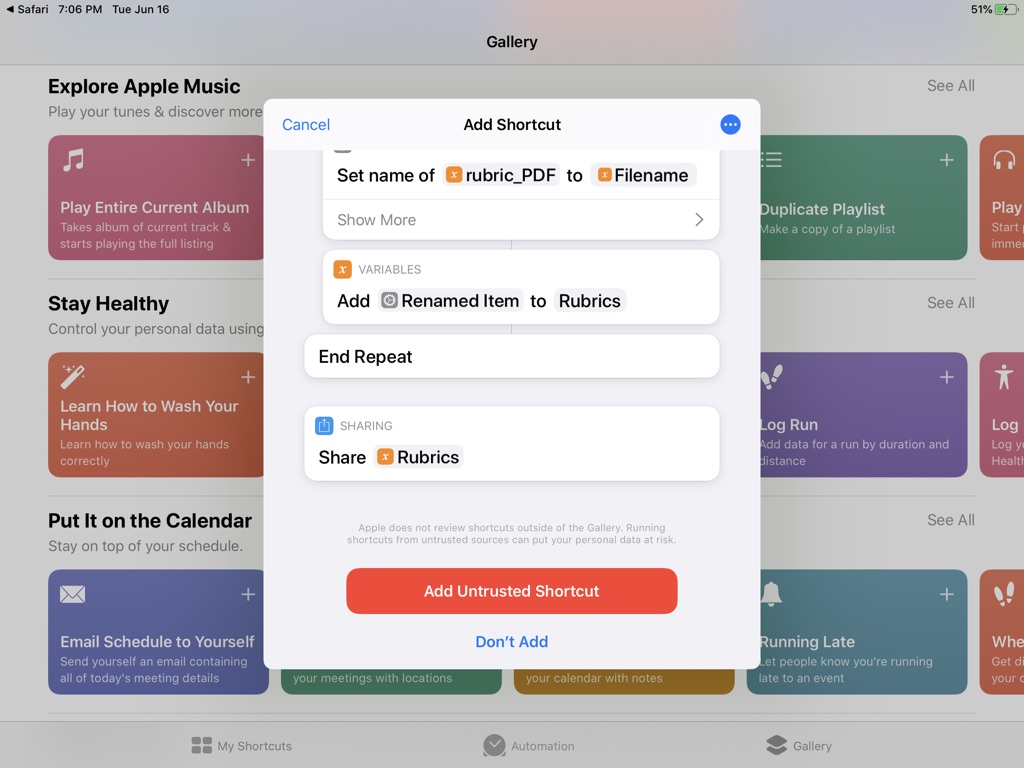
Apple’s powerful but underrated Shortcuts app is really the brains of the operation and the glue that holds it all together. Shortcuts allows you to build scripts that get different apps and functions on your device to talk to one another. In my case, I created the following three shortcuts:
- Get Student List: This shortcut takes the spreadsheet of student information and converts it into a format usable by other shortcuts.
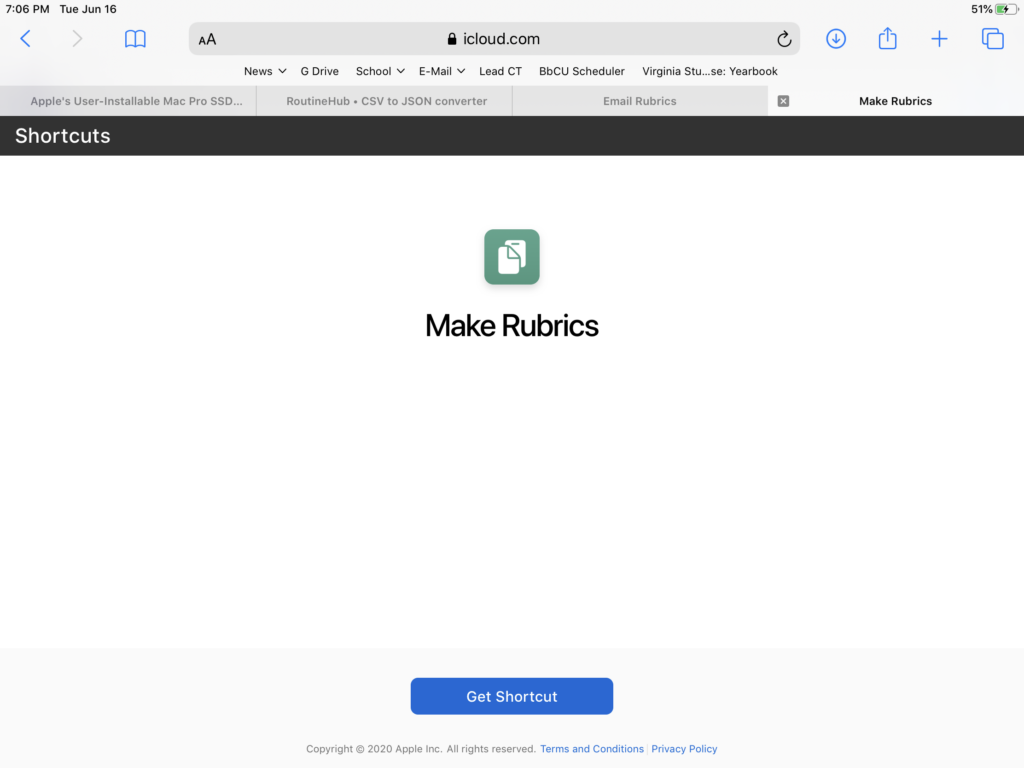
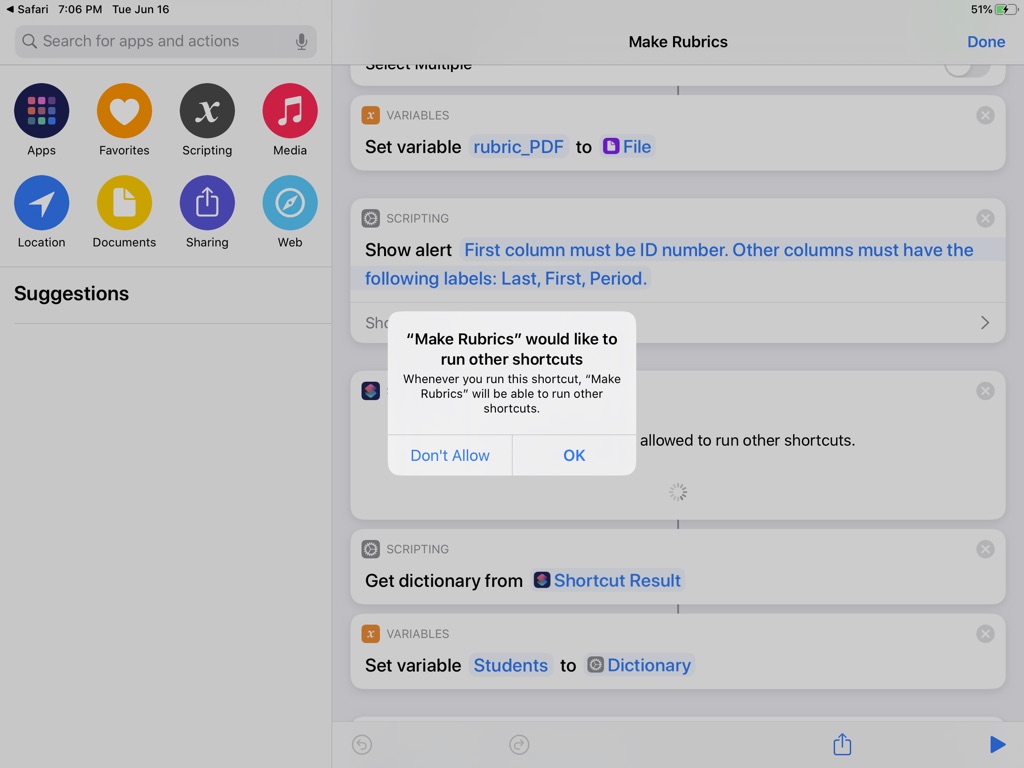
- Make Rubrics: This shortcut takes two inputs: the spreadsheet mentioned above and a PDF of a rubric. It uses the information from the spreadsheet to make a copy of the PDF for each student, embedding their period, name, and ID number into the file name.
- Email Rubrics: This shortcut takes all those rubrics from #2, extracts the ID number from each file name, and then matches it with an email address from the student spreadsheet. It then generates an email to each student with the appropriate rubric as an attachment.
The Outcome
When you put it all together, you get the following fairly succinct workflow:
- Create the Excel spreadsheet or just export it from the Student Information System. Then, save it somewhere on iCloud Drive. (This can be done via Finder on a Mac, by using Apple’s iCloud website, or even by emailing the file to oneself and then using the iPad to save the attachment.) This first step only has to be done once.
- Export one or more rubrics to PDF using a preferred word processor. (My team and I use Google Docs to create most of our rubrics these days, so I just used the feature that lets you download a copy as a PDF.) Then, save these rubrics somewhere on iCloud Drive. If the rubrics are created in advance, this step also only ever has to be done once.
- Open the Shortcuts app and choose the Make Rubrics shortcut. The shortcut asks for the location of the student spreadsheet and the desired rubric.
- Choose the option to “Open in GoodNotes” when the shortcut asks what to do with all the files it has created.
- Grade the assignments by using GoodNotes’s annotation features. The rubrics are sorted by period number and last name, so it’s easy to find the right one.
- Export the rubrics from GoodNotes by selecting them and tapping the sharing button. GoodNotes will convert the annotated files into a standard PDF. (Make sure that Include Annotation is selected and that the PDF Data Format is set to “Flattened.”)
- Choose the Email Rubrics shortcut from GoodNotes’s list of locations. The shortcut will ask for an assignment name, which will be used as the subject line of the emails.
- Tap the Send button after each email is generated.
Here’s what that looks like in action:
I used an earlier version of this workflow for nearly every writing assignment this year and last year. Although it’s definitely a little annoying to tap the send button 70+ times, I think that it’s totally worth it to avoid having to rename the rubric for a given student, look up that student’s email address, attach the file to the email, and then repeat this for each additional student.
A Brief Nerdy Aside
My original workflow required that the list of students be exported from Excel in CSV format and then converted into a more programmer-friendly format known as JSON. Excel doesn’t have this functionality built in, so I used to use an online tool to do the job by copying and pasting the data from one place to another. The resulting JSON file as well as all the rubrics then had to be saved into a specific location on iCloud Drive. The old version also only worked with students in my own district because they each have a predictable email address based on their ID number.
All of these extra steps made the original project far too unwieldy to share and way too specific to my own needs.
However, my newest version of the workflow does all of the conversion right inside the shortcut so all you need, as I mentioned above, is a normal Excel file. This is thanks to a really nifty trick I found for embedding JavaScript code into a shortcut. This allowed me to make use of a pre-existing JavaScript library for working with Excel files and another for converting a comma-separated values file to JSON.
This new version also eliminated the need for a predictable address by allowing an email column to be added to the spreadsheet.
Which means…this is ready to share!
The Takeaway
Want to try this out on your own? Make sure your device is running at least iPadOS 13. Then, download Shortcuts and GoodNotes from the App Store if you don’t already have them.
After that, you need the shortcuts themselves.
If you’v never installed a shortcut from a third party before, you’ll need to first go to your Settings app and then scroll down to the Shortcuts section. There, you should see an option to “Allow Untrusted Shortcuts.” Make sure this is turned on. (Note: Do this at your own risk. Apple provides a warning that this setting allows users to install shortcuts that could potentially be harmful or even steal personal information.)
Now, you can download and install my three shortcuts:
- Get Student List
- Make Rubrics (see note below)
- Email Rubrics (see note below)
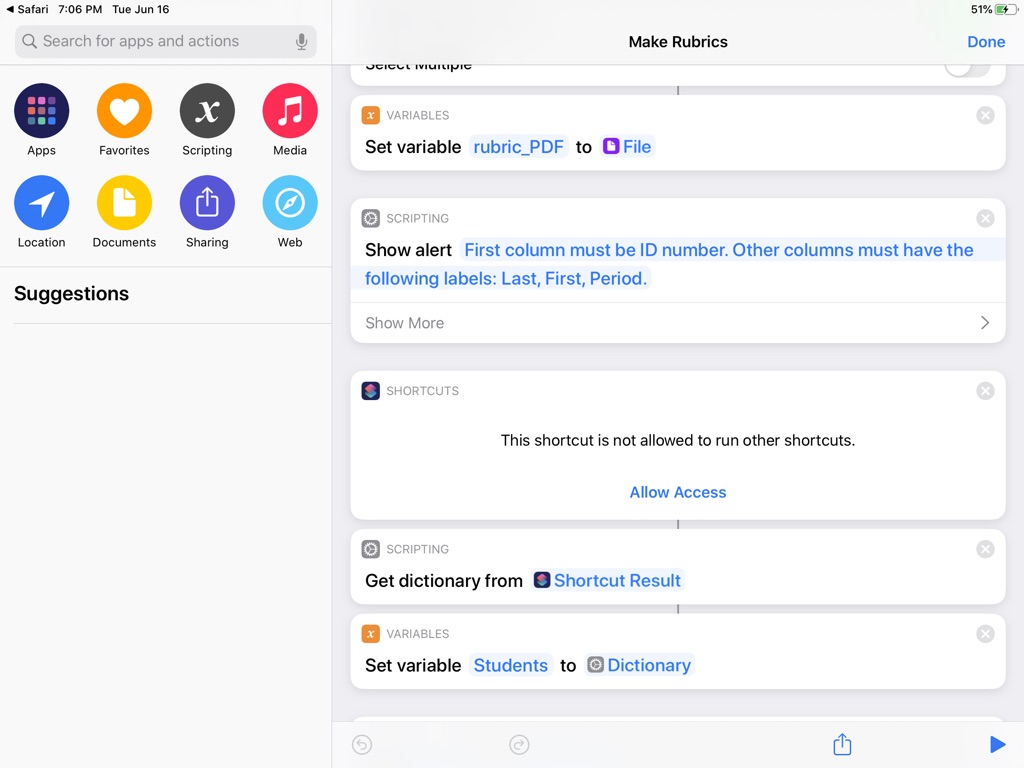
Note: After you install the second two shortcuts, you’ll need to open up each of them for editing by clicking the button with three dots.
Then, find the step that says “This shortcut is not allowed to run other shortcuts.” You should see an option to Allow Access. Tap on that and choose “Ok.”
Now you’re all set! Enjoy your newly automated rubric’ing bliss!